Ever felt like your Facebook name doesn’t quite fit anymore? Maybe you’ve gotten married, divorced, or just want a fresh start. Whatever your reason, changing your name on Facebook is easier than you might think. Let’s dive into the nitty-gritty of how to do it.
Before We Begin: Remember, Facebook has some rules about names. They want you to use your real name – the one your friends call you in everyday life. No fancy titles or weird characters allowed. And heads up: you can only change your name once every 60 days, so make sure you’re happy with your choice!
Step 1: Log In and Head to Settings
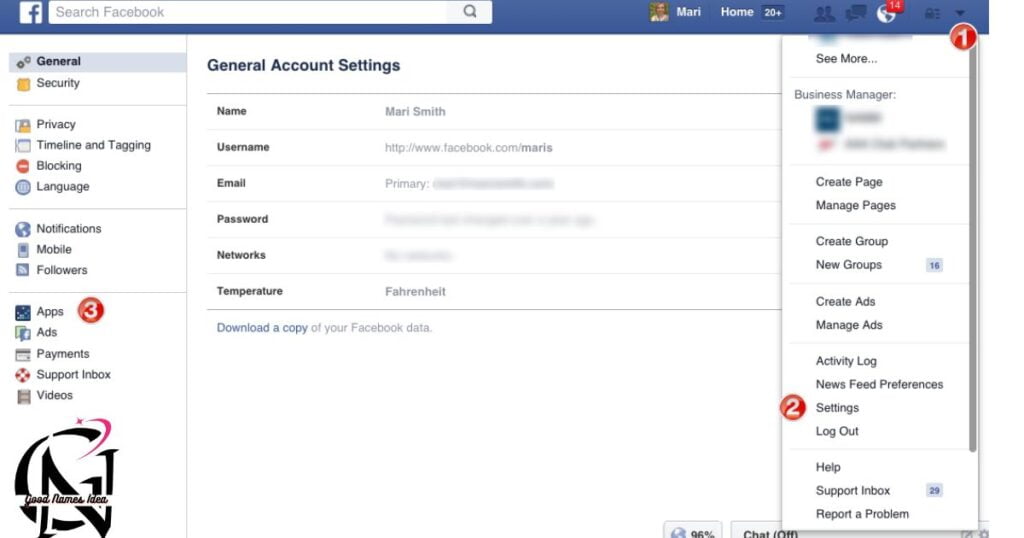
First things first, log into your Facebook account. See that little downward-pointing arrow in the top right corner? Click it, then hit “Settings & Privacy,” followed by “Settings.”
Step 2: Find the Name Change Option
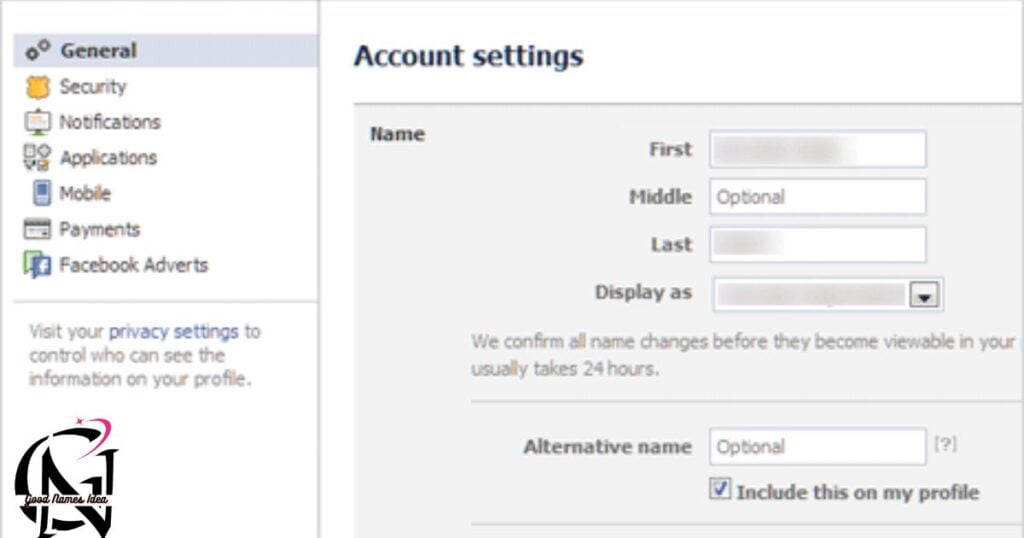
Look for “Name” in the General Account Settings. It’s usually right at the top. Click “Edit” next to your current name.
Step 3: Enter Your New Name
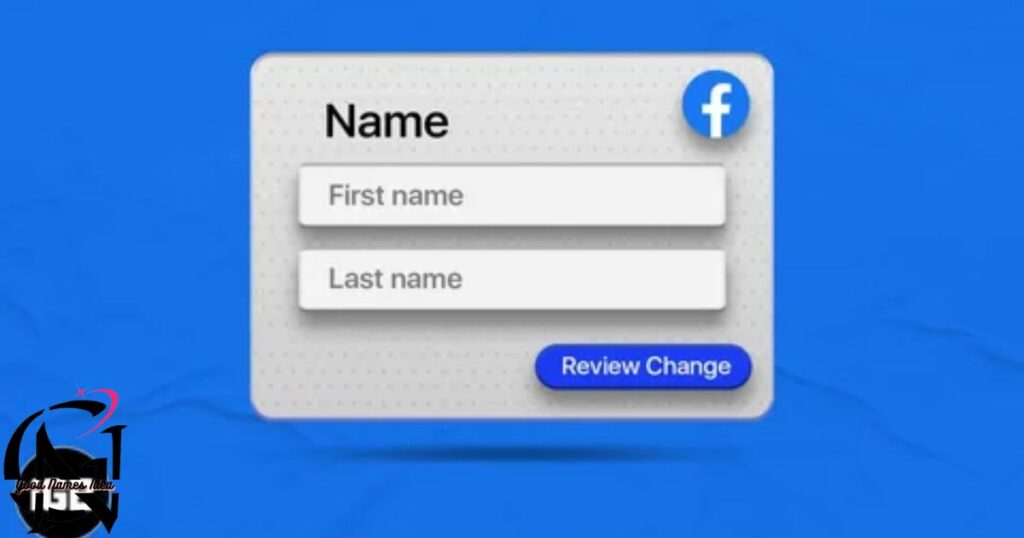
Now’s your chance! Type in your first, middle (if you want), and last name. Facebook will show you how it’ll look – take a moment to make sure it’s perfect.
Step 4: Choose Your Display Name
Facebook lets you pick how your name appears. Want to use a nickname or your middle name? Here’s where you decide.
Step 5: Save and Review
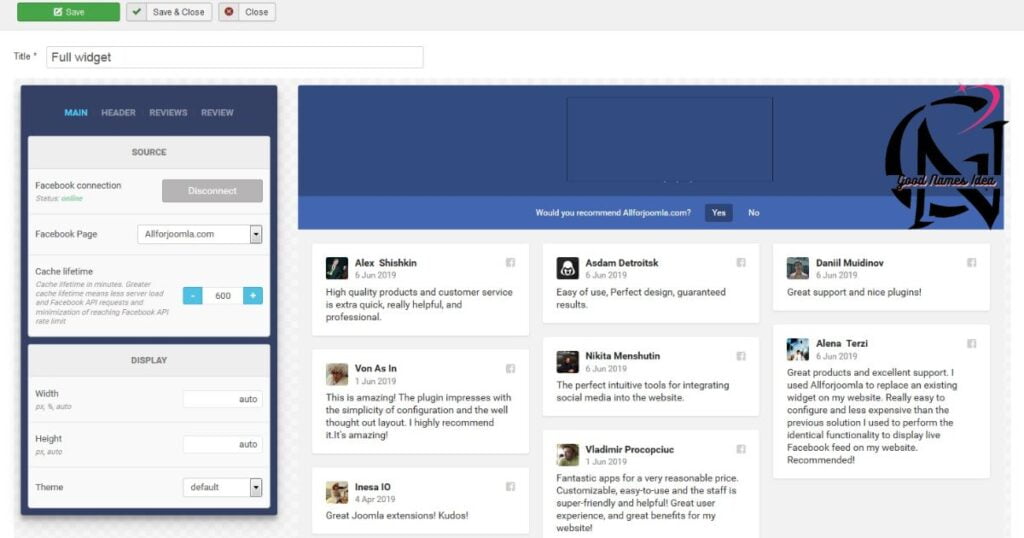
Hit that “Review Change” button. Facebook will show you what your new name will look like on your profile. If you’re happy, click “Save Changes.”
Step 6: Confirm Your Identity
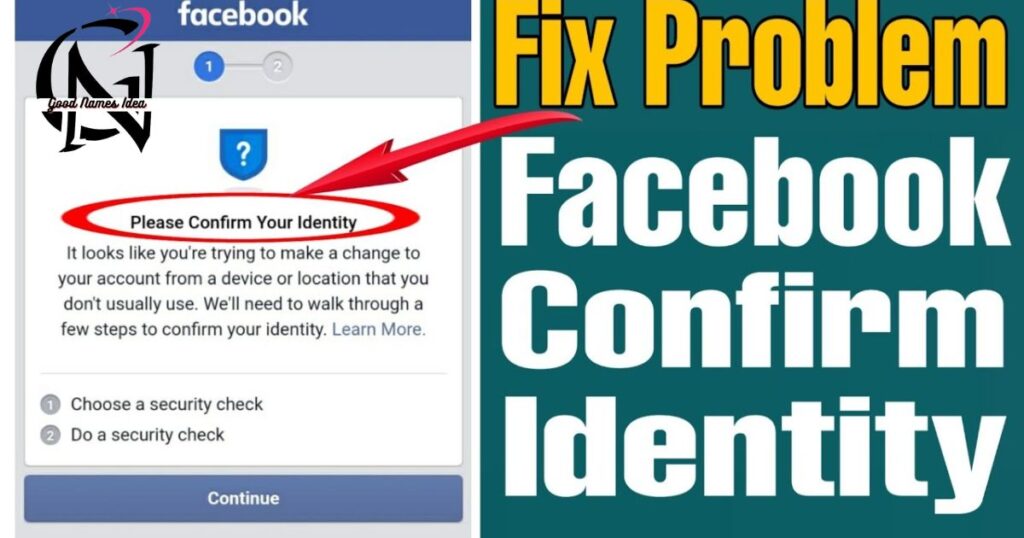
Hold up! Facebook might ask you to confirm it’s really you. They might want you to enter your password or upload an ID. Don’t worry – they’ll delete the ID after verification.
Step 7: Wait for Approval
Usually, your name change will happen right away. But sometimes, Facebook needs to review it first. This can take a few days, so be patient!
Also Read Men’s Mental Health Month
Tips and Tricks:
- Can’t change your name? You might’ve hit that 60-day limit. Mark your calendar for when you can try again.
- Newlyweds, listen up! Facebook has a special option to add a maiden name or alternate name to your profile without changing your main name.
- If you’re trans or changing your name for personal safety reasons, Facebook has special processes. Check out their Help Center for more info.
- Remember, changing your name on Facebook doesn’t change it on Messenger. You’ll need to do that separately in the Messenger settings.
- After changing your name, let your friends know! Some might get confused if they suddenly see a new name in their feed.
Wrapping It Up:
Changing your Facebook name isn’t rocket science, but it can have a big impact on how people see you online. Whether you’re starting a new chapter in life or just fancy a change, now you know how to do it.
Got questions? Facebook’s Help Center is a goldmine of information. And hey, if you run into any snags, don’t hesitate to reach out to their support team.
Your online identity is important. Make sure it reflects the real you!


